You can also be interested in these:
In this article, we will explain how to record your screen without using third-party apps on Windows 11, using the built-in Snipping Tool application. We will cover the options available in this application and provide guidance on how to make the most of its features. It is worth noting that the Snipping Tool application can also be used to take screenshots in Windows 11, and its latest version now includes the ability to record your screen. Join us to discover the full potential of this tool.
Requirements to perform a screen capture without a dedicated app
The option to screen record without third-party apps, using the Snipping Tool, is now available in the Windows 11 Moment 2 update. It is necessary to update the operating system to the latest version to access this feature. If you have the latest version of Windows 11, this app will be available.

Additionally, the integrated Snipping Tool App will also need to be updated through the Microsoft Store. While the latest version should automatically download upon installing Windows 11 Moment 2, users should check for updates in the Library section of the Microsoft Store to ensure they have the most recent version of the app.
To provide an idea of the required versions, our testing team had the following:
- Windows 11 22H2, build 22621.1344
- Snipping Tool 11.2302.4.0
With these versions, screen recording is now available.
Capturing a screenshot without applications in Windows 11
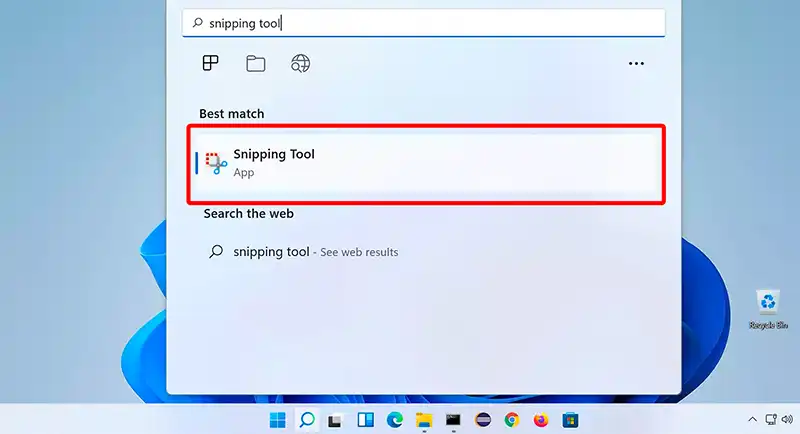
Assuming all the necessary requirements are met, recording the screen without third-party apps in Windows 11 is straightforward. The first step is to open the Snipping Tool by searching for it in the system.
Once opened, click on the camera icon, which indicates the recording function. Ensure that the mode selector is correctly positioned over the camera icon, then click on “New” to start a recording.
The screen recording tool interface is similar to that of taking a screenshot. To start a recording, simply select an area of the screen and click on “Start”.
It is also possible to record the entire screen by dragging the cursor to encompass the entire PC interface. During the recording, a timer appears at the top of the screen to indicate the duration of the capture.
At the top of the screen, there are controls that allow the user to pause or stop the recording. Additionally, a dotted line appears to indicate the captured area of the screen.
Screen capturing without third-party apps: frequently asked questions
Let’s answer some frequently asked questions about this method of screen recording without third-party apps.
Has screen recording been removed from the Xbox Game Bar?
No, the conventional method for recording the desktop in Windows 10 still works perfectly fine. Windows 11’s Game Bar also offers a built-in tool for desktop capture, making it a viable option for advanced recording needs. While the Snipping Tool works fine, it is limited in terms of parameters and configuration options.
Where do all the files capture go?
After completing a recording, the Snip Tool copies the video to the clipboard, allowing the user to easily send it to a compatible application like WhatsApp or Telegram by pressing the keyboard shortcut Control + V. A window also opens, allowing the user to preview the captured video.
From there, it is straightforward to save the video wherever desired by simply clicking on the floppy disk icon located at the top of the window.
What is the video format?
Some users may be concerned that Windows 11 uses an uncommon format for its screen recordings, which could require the conversion of the video for use on online platforms. However, it is worth noting that the Snipping Tool encodes videos in MP4, a widely used video format compatible with many systems and applications.
How is the recording performance?
While powerful screen recording tools exist, they can also be quite heavy and can pose a problem for lower-powered systems. However, this is not an issue with the Snipping Tool, which has proven to be stable and reliable when recording the screen in Windows 11 without the need for third-party apps. The resulting video is of high quality with no lag or disruptions.
Does the Snipping Tool record sound?
Unfortunately, the Snipping Tool does not have the capability to capture audio, which is one of its main limitations for screen recording. Testing has shown that while the video quality is good when recording a YouTube video, the tool is unable to capture the audio.